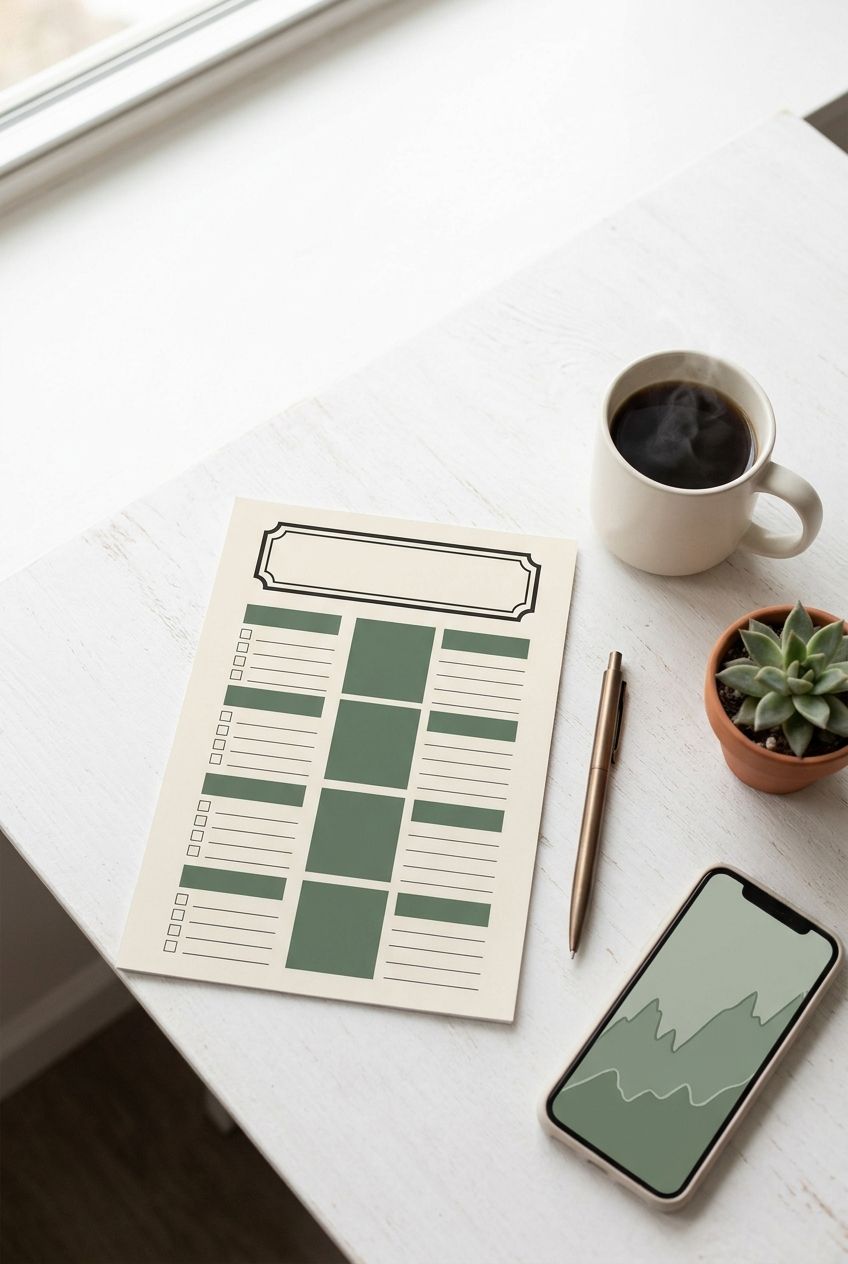
Payday Routine Checklist + Paycheck Allocation Steps: A 90-Minute System That Stops Money From Disappearing
Most people don’t have a spending problem. They have a timing problem: money lands in the checking account on Friday, and by Tuesday it has quietly scattered across subscriptions, takeout, and a card payment nobody planned. A payday routine checklist fixes that by giving every dollar a job within 24 hours of arriving. This guide walks through the exact paycheck allocation steps, with percentages, tools, and timeframes, so you can build the system in one sitting and then run it in about 20 minutes per paycheck.
Why a Payday Routine Checklist Beats a Monthly Budget
A monthly budget is a forecast. A payday routine is an action. Forecasts drift; actions stick, because they happen on a fixed date with a fixed sequence.

Here is the core problem with monthly budgeting. You build a spreadsheet on the 1st, you get paid on the 5th and the 20th, and your rent is due on the 1st. The budget looks balanced on paper, but cash flow in real life has gaps. A payday routine solves this by slicing your budget into per-paycheck pieces that match when money actually arrives.
What the research and practice show
The Consumer Financial Protection Bureau has noted for years that automating transfers is one of the most reliable ways to build savings, because it removes the monthly decision. Behavioral studies on default effects point the same way: people save more when saving happens before they see the money. A payday routine builds that default into your calendar.
What a routine gives you that a budget doesn’t
- A trigger. Your deposit hitting the account starts the process, so you never wonder when to “do the budget.”
- A time limit. The routine takes 20 minutes once set up, versus 2 hours of end-of-month reconciliation.
- Fewer decisions. You decide percentages once, then execute them 24 or 26 times a year.
But what if your income varies? Skip ahead to the objections section. The routine works for irregular pay too, with one adjustment.
The Pre-Work: 5 Numbers to Gather Before You Allocate Anything (30 Minutes)
You can’t split a paycheck you haven’t measured. Before your first routine, pull these five numbers. Use your last 3 months of bank and card statements, and log in to each account rather than guessing.
- Net pay per paycheck. This is the amount that lands in your account after taxes and payroll deductions, not your salary divided by 24. Example: a $65,000 salary often nets roughly $2,050 biweekly after taxes, depending on state and benefits.
- Fixed monthly bills. Rent or mortgage, insurance, car payment, phone, internet, utilities, minimum debt payments. Add them up. A typical total is $2,400 to $3,200 for a single renter in a mid-cost city.
- Variable essentials. Groceries, gas, household supplies. Average the last 3 months. A single adult commonly lands at $350 to $550 for groceries alone.
- Debt balances and rates. List each balance, APR (annual percentage rate, the yearly cost of borrowing), and minimum payment. Credit card APRs currently average above 20%.
- Current savings. Total in checking, savings, and any emergency fund, so you know your starting point.
Success looks like one sheet of paper or one note with five labeled numbers. If you can’t find a number, use the lowest plausible estimate and revise after your first month.
But what if your bills are due on different dates than your paydays? Note each due date next to the bill. You’ll use those dates in Step 4 below.
The Paycheck Allocation Steps: Split Every Dollar in 7 Moves
This is the core sequence. Run it in order every payday. The order matters because it protects the most important goals first.

- Step 1: Confirm the deposit. Check that the amount matches your pay stub. Success: you’ve verified the number within 24 hours of payday. If it’s short, contact payroll the same day; errors compound.
- Step 2: Move the “pay yourself first” amount. Transfer 10 to 20% of the paycheck to savings and retirement-adjacent goals before anything else. On a $2,050 check, 15% is $307.50. Success: the money leaves checking before you open a shopping app.
- Step 3: Fund the bill account. Move this paycheck’s share of fixed bills to a separate checking account (see the next section). Success: the bill account balance equals all bills due before your next payday.
- Step 4: Schedule or pay each bill. Set autopay for fixed amounts. Pay variable bills manually. Success: no bill is due that isn’t either paid or scheduled.
- Step 5: Make the debt payment. Send minimums on everything, then any extra to the highest-APR debt. Success: confirmation numbers saved or autopay confirmed.
- Step 6: Load the spending account. Move a fixed weekly amount for groceries, gas, and fun into a spending-only account or card. Success: you can see exactly what’s left for the week in one balance.
- Step 7: Log and close. Record the paycheck, transfers, and any surprises in a note or spreadsheet. Success: five minutes, one line per transfer.
But what if there isn’t enough left after Step 3? Don’t skip Step 2. Cut it to 5% for one month, then revisit your expense list for the cheapest category to trim.
How to Choose Your Percentages: Three Proven Allocation Frameworks Compared
You need a starting ratio. Don’t invent one. Three well-known frameworks give you a defensible default, and you can adjust from there.
| Framework | Needs / Wants / Savings+Debt | Best for | Weak spot |
|---|---|---|---|
| 50/30/20 (popularized by Elizabeth Warren and Amelia Warren Tyagi) | 50% / 30% / 20% | Middle-income earners in moderate-cost areas; first-time budgeters | Breaks in high-rent cities where needs hit 60%+ |
| 60/20/20 | 60% / 20% / 20% | High cost-of-living areas (NYC, SF, Boston); people with student loans | Leaves less room for discretionary spending, which causes burnout |
| 70/20/10 | 70% / 20% / 10% | Lower earners or those rebuilding after debt; beginners who need breathing room | Slow progress: 10% savings takes years to build a real cushion |
Which one to pick
If your fixed bills plus groceries are under 50% of take-home pay, use 50/30/20. If they’re 55 to 65%, use 60/20/20. If they’re over 65%, use 70/20/10 and treat raising income or cutting your biggest bill (usually housing) as the real project.
A worked example
Take a $2,050 biweekly check on 50/30/20. Needs get $1,025, wants get $615, and savings plus extra debt payments get $410. Notice that “needs” includes minimum debt payments, while extra debt payments belong in the 20% bucket.
But what if none of the three fit? Calculate your own: needs percentage from your pre-work numbers, then split what’s left 60/40 between savings and wants.
How to Set Up a Bill Account So Rent Never Sneaks Up on You
The most effective structural change in this whole system costs nothing: a separate checking account used only for bills. Open one at a bank with no monthly fee and no minimum balance. Ally, Capital One 360, and most credit unions qualify, and setup takes about 15 minutes online.

How the math works
Add your monthly fixed bills. Say it’s $2,600. If you’re paid twice a month, move $1,300 into the bill account each payday. If you’re paid biweekly (26 checks a year), move $1,200 per check, because 26 x $1,200 = $31,200, which covers 12 months of $2,600 bills with a small buffer. That extra cushion matters in the two months a year when you get a third paycheck.
Setup steps
- Open the account and link it to your main checking.
- Move autopay dates for every fixed bill to pull from the bill account. Most companies let you change this in the billing portal.
- Set a recurring transfer from main checking to the bill account, timed for the morning after payday.
- Let a one-month buffer build. Once the account holds one full month of bills, stop adding the cushion and redirect it to savings.
Success looks like checking your bill account and seeing a balance that never drops below zero. But what if a bill is due before the first transfer lands? Pay that one from main checking once, then let the system take over from the next cycle.
Where the Savings Slice Should Actually Go (With Dollar Targets and Account Types)
Saying “save 20%” isn’t enough. You need to know which account gets which dollars, and in what order.
The priority order
- Starter emergency fund: $1,000. This covers a car repair or urgent copay. Hit it first, even while paying debt.
- Employer 401(k) match. If your employer matches 4% and you skip it, you’re turning down an instant 100% return. Contribute at least up to the match.
- High-interest debt payoff. Anything above roughly 8% APR beats most investment returns, so attack it before investing beyond the match.
- Full emergency fund: 3 to 6 months of essential expenses. For $3,200 in monthly essentials, that’s $9,600 to $19,200.
- Retirement and other goals. Roth IRA (annual limit $7,000 for 2024 and 2025 for under-50 savers), then taxable investing or a house fund.
Where to park the cash
Keep emergency money in a high-yield savings account (HYSA). Many online banks, including Marcus by Goldman Sachs, Ally, and Discover, have offered rates in the 4% range, versus around 0.4% at big traditional banks. On $10,000, that gap is roughly $360 a year for doing nothing.
But what if you’re torn between debt and savings? Keep the $1,000 starter fund, then split extra money 70% debt, 30% savings until the debt is gone. That keeps you buffered against surprises without slowing payoff much.
The Payday Routine Checklist You Can Copy: 12 Items in 20 Minutes
Here’s the compact version of everything above. Print it or paste it into your notes app, and run it every payday. After 3 or 4 cycles, it becomes automatic.

- Verify the deposit against your pay stub (2 min).
- Transfer to savings first: your chosen percentage, set as automatic if possible (1 min).
- Increase retirement contributions by 1% if you received a raise this quarter (2 min, quarterly only).
- Fund the bill account with this check’s share of fixed bills (1 min).
- Check upcoming due dates for the next 14 days (2 min).
- Pay the credit card statement balance in full, or make the planned payoff payment (2 min).
- Send the extra debt payment to the highest-APR balance (1 min).
- Load the weekly spending account or card (1 min).
- Scan last week’s transactions for errors, duplicates, or forgotten subscriptions (4 min).
- Update sinking funds (see below) with this paycheck’s contribution (1 min).
- Log the numbers in your tracker (2 min).
- Set one calendar note for the next payday with the expected amount (1 min).
Success is finishing in under 20 minutes with no open questions about where the money went. But what if you travel or get busy on payday? Automate items 2, 4, and 7, and the routine shrinks to a 10-minute review whenever you can sit down.
Sinking Funds: The Hidden Piece That Stops Irregular Expenses From Wrecking Your Month
A sinking fund is a small pot of money you build gradually for a known, irregular expense. It’s the difference between “my car registration surprised me” and “my car registration was already paid for.”
How to calculate a sinking fund
Take the total cost, divide by the number of paychecks until it’s due. Car insurance of $720 every six months and 13 biweekly paychecks to go means $55.40 per check. Holiday spending of $600 with 20 paychecks until December means $30 per check.
The sinking funds most people forget
- Car maintenance and registration: $50 to $100 per month is a common reserve.
- Annual subscriptions: Amazon Prime ($139), antivirus, domain renewals.
- Medical and dental: deductibles and copays; $25 to $75 per paycheck for many households.
- Gifts and holidays: average U.S. holiday spending often runs $800 to $1,000 per household.
- Home or renter needs: appliance replacement, moving costs.
Where to keep them
Use a single HYSA with sub-buckets (Ally calls them “buckets,” Capital One 360 calls them “savings goals”). One account, many labeled slices, no extra fees.
But what if you don’t have spare cash for this yet? Start with just one fund: the one tied to your next known expense. Add a second only after the first runs smoothly for 2 months.
5 Payday Mistakes That Quietly Cost You Hundreds a Year (and Fixes)
Even a good system leaks. These are the three most common mistakes I see in practice, plus two close behind.

- Saving what’s left instead of what’s planned. Leftover money rarely exists. Fix: transfer savings the same day pay arrives, ideally by automatic transfer set for 6 a.m. the day after payday.
- Using one account for everything. Bills, spending, and savings sharing a balance means you can’t tell what’s safe to spend. Fix: use at least three accounts (main, bills, savings) or two with a separate spending card.
- Ignoring the third-paycheck months. Biweekly workers get 26 checks, so two months a year have three. Treat those extra checks as windfalls: 50% to debt or savings goals, 30% to sinking funds, 20% to fun.
- Paying minimums only on high-APR cards. On a $4,000 balance at 24% APR, minimum payments can take over a decade and cost thousands in interest. Fix: put every extra dollar on that card until it’s gone.
- Never reviewing the allocation. A raise, move, or new baby changes the math. Fix: set a calendar reminder every 90 days to re-check your percentages against your actual bills.
The pattern across all five: every mistake comes from relying on willpower instead of structure. Build the structure once, and the mistakes mostly disappear.
Objections and “What If” Scenarios: Irregular Income, Tight Budgets, and Partners
Every system sounds good until your life doesn’t match the example. Here are the four situations that break most routines, and how to adapt.
“What if my income is irregular?”
Freelancers and commission earners should budget from their lowest month in the past year, not the average. Park all income in a holding account, then pay yourself a fixed “salary” from it on a set date, twice a month. In good months the holding account grows; in bad months it covers the gap. Aim for a 2-month buffer in that account.
“What if I’m living paycheck to paycheck?”
Start smaller, not later. Save $20 per paycheck. The amount matters less than the habit and the account structure. Then spend 30 minutes reviewing statements for cuts: one forgotten subscription ($15 a month) and one bill renegotiation (a phone or internet plan can often drop $20 to $40 a month with a 15-minute call) can fund the first $500.
“What if I share finances with a partner?”
Use a joint bill account funded proportionally to income. If you earn $60,000 and your partner earns $40,000, you each cover 60% and 40% of shared bills. Keep individual spending accounts with equal or agreed amounts so neither person has to justify small purchases. Hold a 20-minute money meeting once a month.
“What if my employer pays on an odd schedule?”
Weekly, semi-monthly, and monthly pay all work. Divide your monthly needs by the number of checks, and build the buffer so the first check of the month can cover bills due before the second. Semi-monthly workers (24 checks) should keep rent funded from whichever check lands closer to the due date.
Tools That Make the Routine Run Itself (Free and Paid, With Real Costs)
You don’t need software, but the right tools cut the 20 minutes down to 10 and make the numbers visible.

Banking tools (free)
Recurring transfers, bill pay, and sub-accounts are built into most banks. Set these first; they handle Steps 2 through 4 without any extra app.
Budgeting apps
- YNAB (You Need A Budget): about $109 per year after a 34-day free trial. It assigns every dollar a job, which maps almost exactly to this routine. Best for people who want hands-on control.
- Monarch Money: roughly $99.99 per year. Good for couples because it supports shared views and goal tracking.
- Google Sheets or Excel: free. A simple tab with columns for date, paycheck, savings, bills, debt, spending, and notes is enough. Best if you hate subscriptions.
- Simplifi by Quicken: priced around $2.99 to $5.99 per month depending on promotion. Good automatic categorization with light setup.
Tip: free apps often make money from selling data or promoting products, so check the privacy policy before connecting your bank.
How to pick one in 10 minutes
If you’re new, start with a Google Sheet for the first 2 months. That forces you to understand the numbers. If you’re still running the routine after 8 weeks, then pay for an app if you want automation. Skipping the spreadsheet stage is the most common reason people abandon paid apps within 3 months.
Your First Payday Run: Do This Before Your Next Deposit Lands
Don’t wait for a perfect system. Between now and your next paycheck, do these three things, in this order.
First, spend 30 minutes pulling the five numbers from the pre-work section and writing them in one note. Second, open a free second checking account for bills and set one recurring transfer into it, even if the amount is only a rough estimate. Third, schedule a 20-minute calendar block labeled “Payday Routine” for the morning after your next deposit, and bring the 12-item checklist with you.
Your first run will feel clumsy and take closer to 45 minutes. That’s normal. By your fourth paycheck, you’ll finish before your coffee cools, and you’ll know exactly where every dollar went. Do it once, imperfectly, this week.